
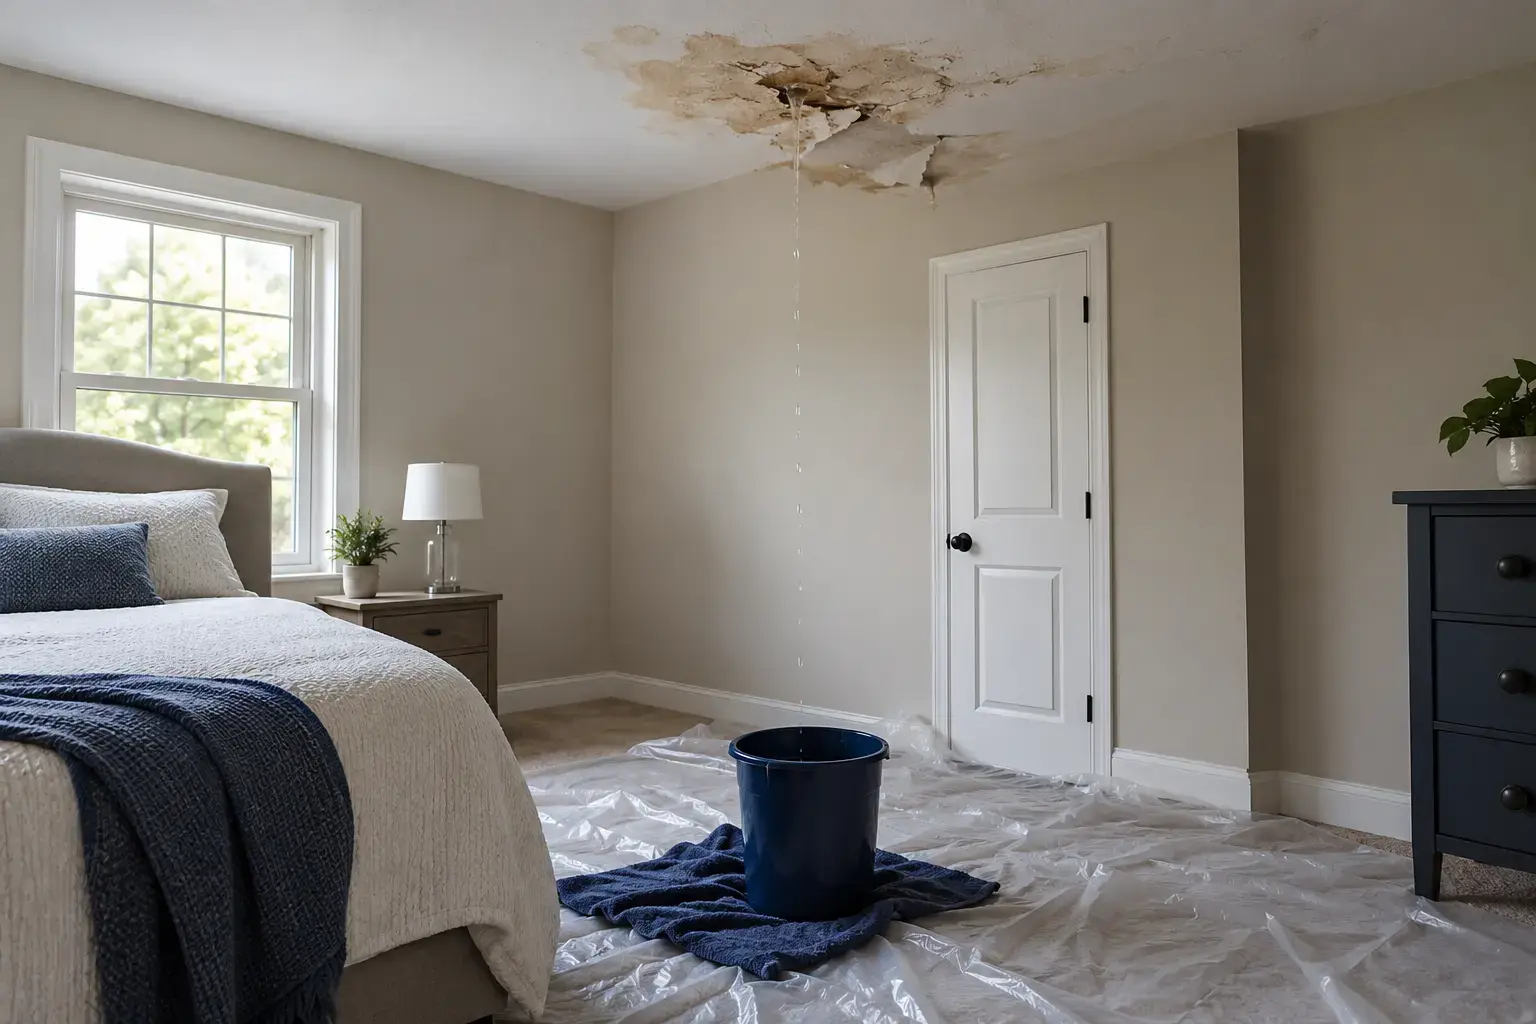
Good documentation connects three things: what you observed, what was affected and what work followed. A folder full of close-up photos is harder to understand without room names, dates and the sequence of the leak. Start a simple record as soon as you can do so safely, then add to it during the repair and cleanup.
This guide gives you a room-by-room method, two recordkeeping tables and questions to ask as the scope develops. For active water, arrange emergency water removal and source control alongside the paperwork. You can document necessary changes without delaying an action needed to keep people safe or prevent more damage.
1. Put safety and source control ahead of the photograph
Take photographs only from dry, stable access. Stay out of standing water near electrical equipment and do not stand below a sagging ceiling to get a better angle. If wastewater is involved, keep people and pets outside the affected room and avoid handling the materials for a photograph.
Record a necessary action after it is taken: which valve was closed, when the source was repaired or what had to be moved to preserve access. The first-hour pipe-burst guide explains how source isolation and the water path fit together. For contamination handling, review sewage backup cleanup before moving wet belongings through another room.
Maryland’s after-a-loss guidance recommends contacting the insurer promptly and understanding the policy. Ask about its reporting method and the information it needs while you organize the record.
2. Photograph the room, the water path and the detail
Begin with a wide view that identifies the room and its entrances. Next, show the relationship between the apparent source and affected surfaces: a leaking appliance beside a cabinet, a wet floor under a ceiling stain or a baseboard beside the next room. Finish with close-ups of specific damage.
Use the same direction when practical for later progress photos. That makes it easier to see which wall was opened or how the affected boundary changed. Avoid editing the originals; keep annotated copies separately if you need arrows or labels. A short room-and-date filename can make a large set easier to navigate.
For ceiling water damage, include the room above if safe access is available. For appliance leak damage, show the recess and cabinet edges without pulling a heavy appliance across wet flooring.
| Photo group | What to capture | Why it helps |
|---|---|---|
| Room overview | The whole affected room from a safe doorway. | Shows where the detail photos belong. |
| Apparent source | Visible failed connection or entry area when safely accessible. | Connects the reported source to the affected room. |
| Water path | Wet flooring, adjoining trim and any lower-level damage. | Shows how the loss extends beyond the original spot. |
| Material detail | Swelling, stains, damaged finishes and wet belongings. | Records the observed condition before handling or repair. |
| Progress | The same view after opening, extraction or repair. | Connects necessary work to the earlier condition. |
3. Build an inventory one room at a time
List affected items by room rather than trying to remember the whole building at once. Include a description, the observed damage and identifying details you already have. Add purchase records, model information or serial-number photos when available and safe to obtain.
Keep building finishes separate from movable belongings. Flooring, wallboard and fitted cabinets belong in a different part of the record from rugs, furniture and stored boxes. If an item is moved, note its original room and new location so the photo set remains understandable.
Ask the adjuster about retaining damaged items. When contamination or another hazard makes storage unsafe, ask how to record and handle the item before disposal, and photograph the condition from safe access. The NFIP flood-damage documentation guide provides additional recordkeeping guidance for flood losses.
| Field | What to record | Useful supporting record |
|---|---|---|
| Room and item | Location plus a clear item description. | Wide room photo and item close-up. |
| Observed condition | Wet, swollen, stained or otherwise visibly affected areas. | Dated photograph showing that condition. |
| Identification | Brand, model or serial number already available. | Label photo, receipt or product record. |
| Purchase information | Date and cost from records you have. | Receipt, order confirmation or statement. |
| Handling change | Where an item was moved or how it was removed. | Progress photo and a dated note. |
4. Keep a timeline with facts and known times
Write down when you discovered the water, what you saw then and whether the source was still active. Add shutoff, repair, inspection and cleanup events as they occur. If you do not know when the leak began, record the discovery time and the information you do have.
A useful note identifies the action and the person or company involved. Keep messages that confirm access, a source repair or a change to the agreed work. You do not need a long narrative for every event; a dated line that can be matched to a photo or invoice is easier to follow.
For a rain-related loss, include when you observed the entry and which repair addressed it. Our bay storm water damage guide explains why overhead rain entry and ground-level floodwater should be described separately.
5. Separate source repair, mitigation and rebuilding records
A plumbing invoice can show that a pipe was repaired, while an extraction record describes water removal inside the building. Keep both. Label the work by its role so the sequence remains clear when cleanup continues after the original source has been stopped.
For burst pipe cleanup or water heater leak cleanup, the surrounding walls and flooring can remain wet after equipment repair. Structural drying addresses retained building moisture. Later replacement of board, trim or flooring belongs with the rebuilding scope.
Ask for the agreed cleanup boundary and keep a record of any approved change. If an additional room or cavity needs attention, save the explanation with the photos showing its condition. That is more useful than combining every activity under a single unexplained total.
6. Ask for records that explain concealed damage
A surface photo can show a stain, but it may not show wet insulation or the underside of flooring. Ask which accessible materials were inspected and what records or photographs are available from the cleanup. Keep those observations with the room where they were taken.
A water damage inspection can help define the wet boundary and access needs. If work includes affected drywall removal, ask why the opening was needed and retain progress photographs before the cavity is enclosed. For wood floor damage, keep the floor and subfloor review with the later repair decision.
Separate a measured or observed condition from a guess about its cause. A clear record says what was found, when it was found and what action followed. Ask follow-up questions while the affected assembly is still accessible.
7. Ask your insurer clear, source-specific questions
Report whether the loss involved an interior pipe, rain entry, outside floodwater or a drain backup. Those sources can involve different policy provisions. Ask which documents are needed, how to submit them and whether there are specific steps for damaged contents or additional damage discovered during opening.
Maryland’s weather-related insurance guidance explains that standard homeowners policies exclude flood damage. Discuss the source and your own coverage with the insurer instead of treating all water losses alike. Your insurance company decides coverage under your policy.
Record the contact’s name, the date and any reference number provided. Keep a copy of the information you submit, including photos and estimates, so you can answer a later request without reconstructing the original submission.
8. Track estimates, invoices and changes during the job
An estimate describes planned work and pricing; an invoice records charges for work or services supplied. Keep the versions in order and ask what changed if the scope develops. A newly opened cavity, additional affected material or a continuing source can change the work needed.
Store receipts for source repairs, cleanup and other loss-related expenses together. Note which document relates to which room or stage. For a basement water cleanup or crawl space loss, access and concealed materials can be especially important to explaining the sequence.
For commercial water damage, the building contact should also keep access approvals, tenant communications and work-zone updates. Use one organized record so the people coordinating the property are working from the same scope.
9. Close the record with drying and repair handover notes
Before finishes are replaced, ask what cleanup is complete, which moisture observations were reviewed and what repairs remain. Keep those notes with the final photos and the source-repair record. If visible growth or a damp odor remains, report it and discuss the mold and moisture cleanup needs before the area is enclosed.
Back up the folder in a location you can access if the property or a device is unavailable. Share only the information needed for the request, and keep sensitive entry codes or unrelated personal documents out of broad email threads. Label new submissions by date so earlier versions remain easy to find.
When arranging water damage cleanup, ask how to obtain the job records you need. Contact Port Republic Water Team with the affected rooms and source details to discuss cleanup and property access while your documentation stays organized.
More questions about this guide
What if I missed the first photographs before stopping a leak?
Record what you observed, when the source was controlled and which actions were necessary. Take safe current photos and retain repair or cleanup records that show the sequence.
Should my inventory combine flooring with movable belongings?
Keep building finishes and movable contents in separate groups, organized by room. That makes it easier to connect fixed-material repairs and item handling with the right photos and records.
How can I keep multiple cleanup estimate versions understandable?
Save each version with its date and retain the explanation for changes. Match additional work to the affected room, progress photos and the approval or communication about that change.